Removal and Replacement Instructions
(steps 1-10 of 20)
- Disconnect the negative battery cable.
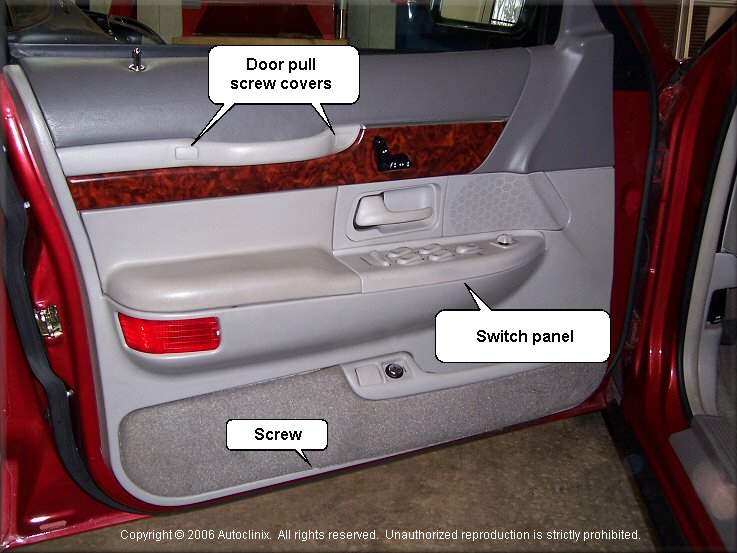
- Remove the seat switch/door lock control panel by gently prying starting at the front of the panel (see picture below).
The panel has clips at the front and rear of the assembly that simply snap into the door panel. Be careful not to break the
the clips.
- Un-plug all the connectors from the bottom of the the switch panel. Some models have a screw securing the wiring
harness to the connector (usually only on the passenger side). You'll need to remove these screws to in order to un-plug the connector.

- Remove the retaining screw found behind the switch control panel (just under the door handle - see picture above).
- Remove the retaining screw from the bottom edge of the door panel (see first picture above for location).
Some older models also have retaining screws at the upper-right portion of the door panel and in the map pockets.
If your car does, remove those as well.
- Remove the screw covers from each of the door pulls (if so equipped). If you use a screw driver to remove
these covers be careful not to damage them. Remove the screws securing the door pull.
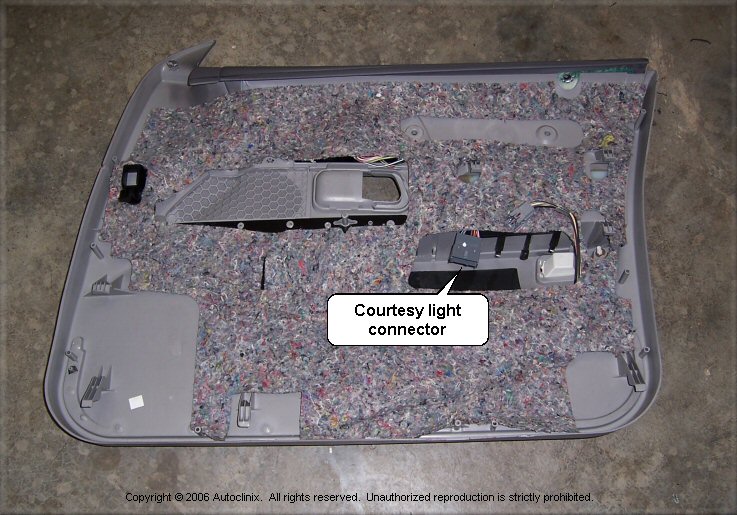
- Lift up the door panel and remove. Pull the door panel away from the door slightly and reach behind the door panel
to disconnect the courtesy light connector (if so equipped - see picture below).
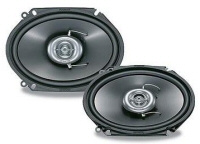
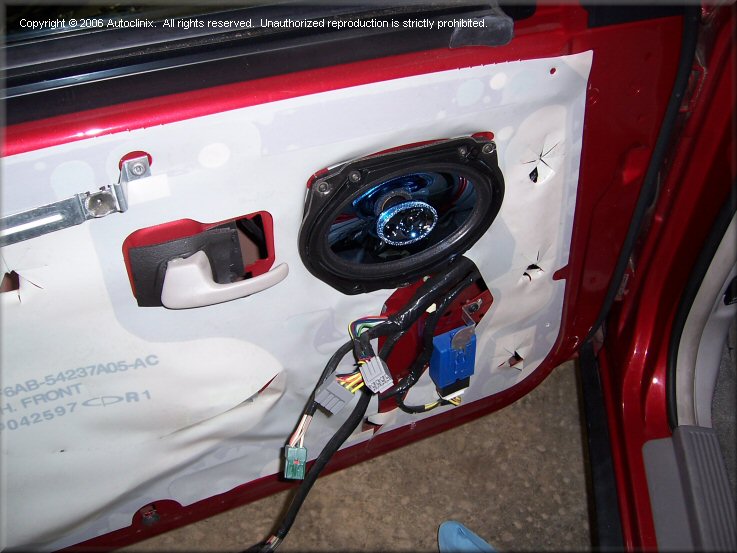
- Remove the four (4) mounting screws for the door speaker (see picture below).
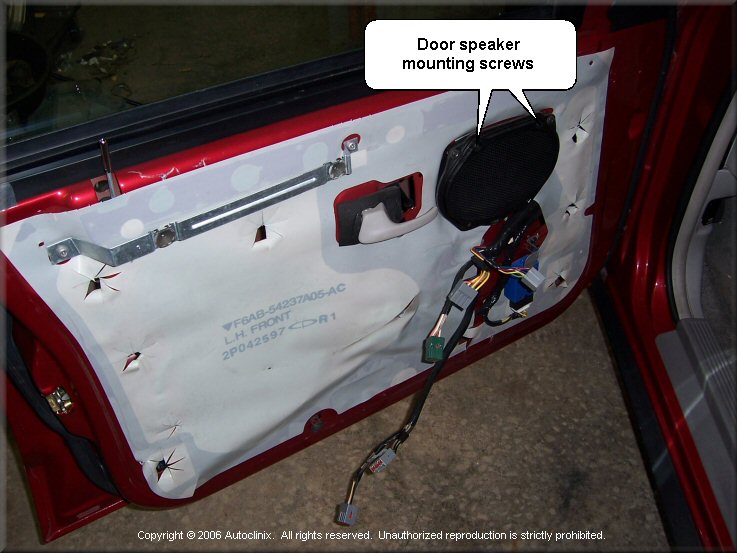
- Remove the speaker and un-plug the speaker connector.
In order to connect your new speakers you can do one of three things: cut the wires and splice-in the new speaker
wires/connectors, use speaker wiring adapters (available from audio dealers like Crutchfied, Best Buy, etc.), or make
your own speaker wiring adapters. We chose to make our own. For instructions on how
to make your own Ford speaker wiring adapters click here
|